
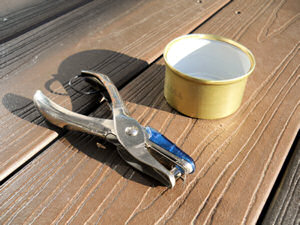
The Cat Food Can Stove
The cat food can stove, sometimes called a super cat stove, is another popular alcohol stove that deserves a special mention. As light and cheap as the soda can stove is, the super cat is even lighter and cheaper. It’s also faster and easier to build; and the stove acts as its own built-in pot support. With all these benefits, why would anyone use a soda can stove at all? There’s the rub: You can’t simmer with the cat food can stove, and the built-in pot support isn’t as sturdy as the stand-alone pot support.
The built-in pot support is convenient, but if you are cooking food, you’ll have to stir it regularly so the food at the bottom of the pot doesn’t burn. Because this stove is the pot support, stirring your food would cause the burning denatured alcohol to slosh around—which can be a problem!
If your meals largely consist of ‘add hot water and wait,’ however, this stove is awesome. Boiling water does not require a simmer ring, and water does not need to be stirred. If you’re a fan of Freezer Bag Cooking, the super cat stove is awesome. If you’re more likely to cook food directly, you’ll probably be happier with building a soda can stove.
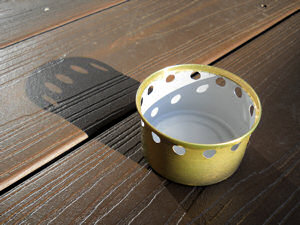
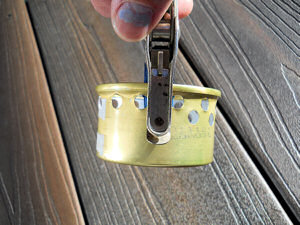
How to Build a Super Cat Stove


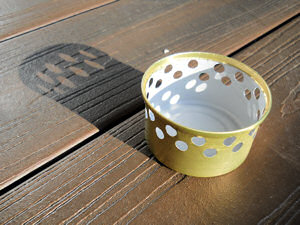
Using Your Cat Food Can Stove
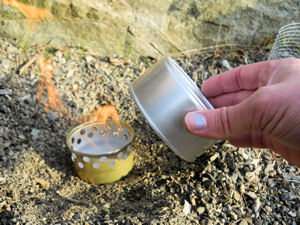
Using the stove is as easy as making it. Fill the stove with denatured alcohol—make sure not to fill it so high that the fuel will spill out from the holes in your stove. Then light it. When I light the stove, I’ll let the flame from my lighter lick the holes on the side of the stove which is safer for your hand than lighting the stove from the large opening at the top.
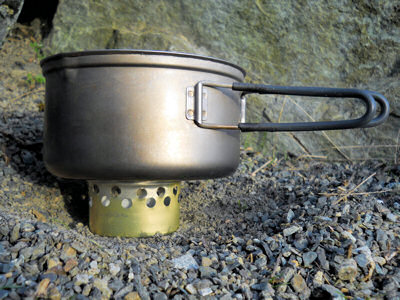
Give the stove 30 seconds to warm up a bit before placing your stove on it. Be sure not to jostle the stove too much—you don’t want the burning alcohol to slosh around!
If you want to put out the flame early, snuff the flame with your dedicated snuffer or use an empty pot. In an emergency, you can pour water directly onto it—it won’t spread the fire like a grease fire would—but the denatured alcohol mixed with water isn’t very useful afterwards.
And wait a few minutes for the stove to cool before trying to touch or handle it. These things do get hot when you use them!